
Easy Fall Garden Bed Prep
Ready to get that fall garden going? Quickly and easily refresh your garden beds with budget friendly options available at many local garden centers.
Christine shares the fertilizer she's using along with how she used some clearance potting soil to get her garden beds ready to plant again. And, ready to plant, not just for fall, but for winter gardening, as well.

Need plants for your fall and winter garden beds? We have a course for that!
The “Seed Starting Quick Course” is ready for you.
Ready to get that fall garden going? Me too! However, the compost pile I have that is next in line is not ready. Fortunately, my local garden center has bags of potting soil on sale. High quality potting soil, and on sale, as in “on clearance sale,” which is why I wanted to make sure you know about this right now, in case yours are on clearance, too.
I’m sharing with you how I’ve been quickly, easily, and rather inexpensively getting my garden beds refreshed for fall. In my ideal setup, all of my inputs would be coming straight from my own compost pile and my own things out of the garden. I’m not in an ideal situation, yet. Some fertilizer and potting soil from the store are doing the trick. So, I’m letting you know how I’ve used them in case it helps you out while you’re getting things going as well.
The bed prep we’re doing actually started the night before. We need the top layer of soil to be workable, because we’re going to be working in some fertilizer. August and September have been nice and dry, which is perfect for drying black eyed peas and such things, but not so great for getting soil ready or baby plants ready to go. Since the soil was so dry, I carried out a couple of rounds of watering cans and soaked the bed I was going to be working on. I did it the night before so that things could soak in and it wasn’t going to be muddy where we were working.
That’s also a tip you can use if you need to sow seeds when it’s dry. The night before, or several hours before, wet things down. Let it settle a bit, and it’s ready to roll.
The next day, it’s time to clear the old stuff out of the beds. I waited to do this until after I had watered, so that weeding would be easier, as well. Things like parsley and celery that have gone to seed need cleared. (Bonus tip: I let parsley and celery go to seed. One, the insects love the flowers. Two, the parsley and celery will reseed themselves, so I don’t have to plant so many from scratch.) I’m also clearing out things like squash plants that I can tell won’t make it by the end of the season. No need to tempt the squash bugs.
Next, we’re ready for fertilizer. The first thing I put down is bone meal. I use this because it has both nitrogen and phosphorus. Most of the fall plants, the leafy greens that we’ll be growing throughout the winter, need plenty of nitrogen. The phosphorus helps with root development, so it’s still very relevant now. And phosphorus is also what is needed for good bloom and fruit production. We want to let that start working into the soil so it’s ready for us in the spring. Plus, at The Imagined Garden, we have flowers through the fall and winter, like the Calendula pictured from January 13, 2024.
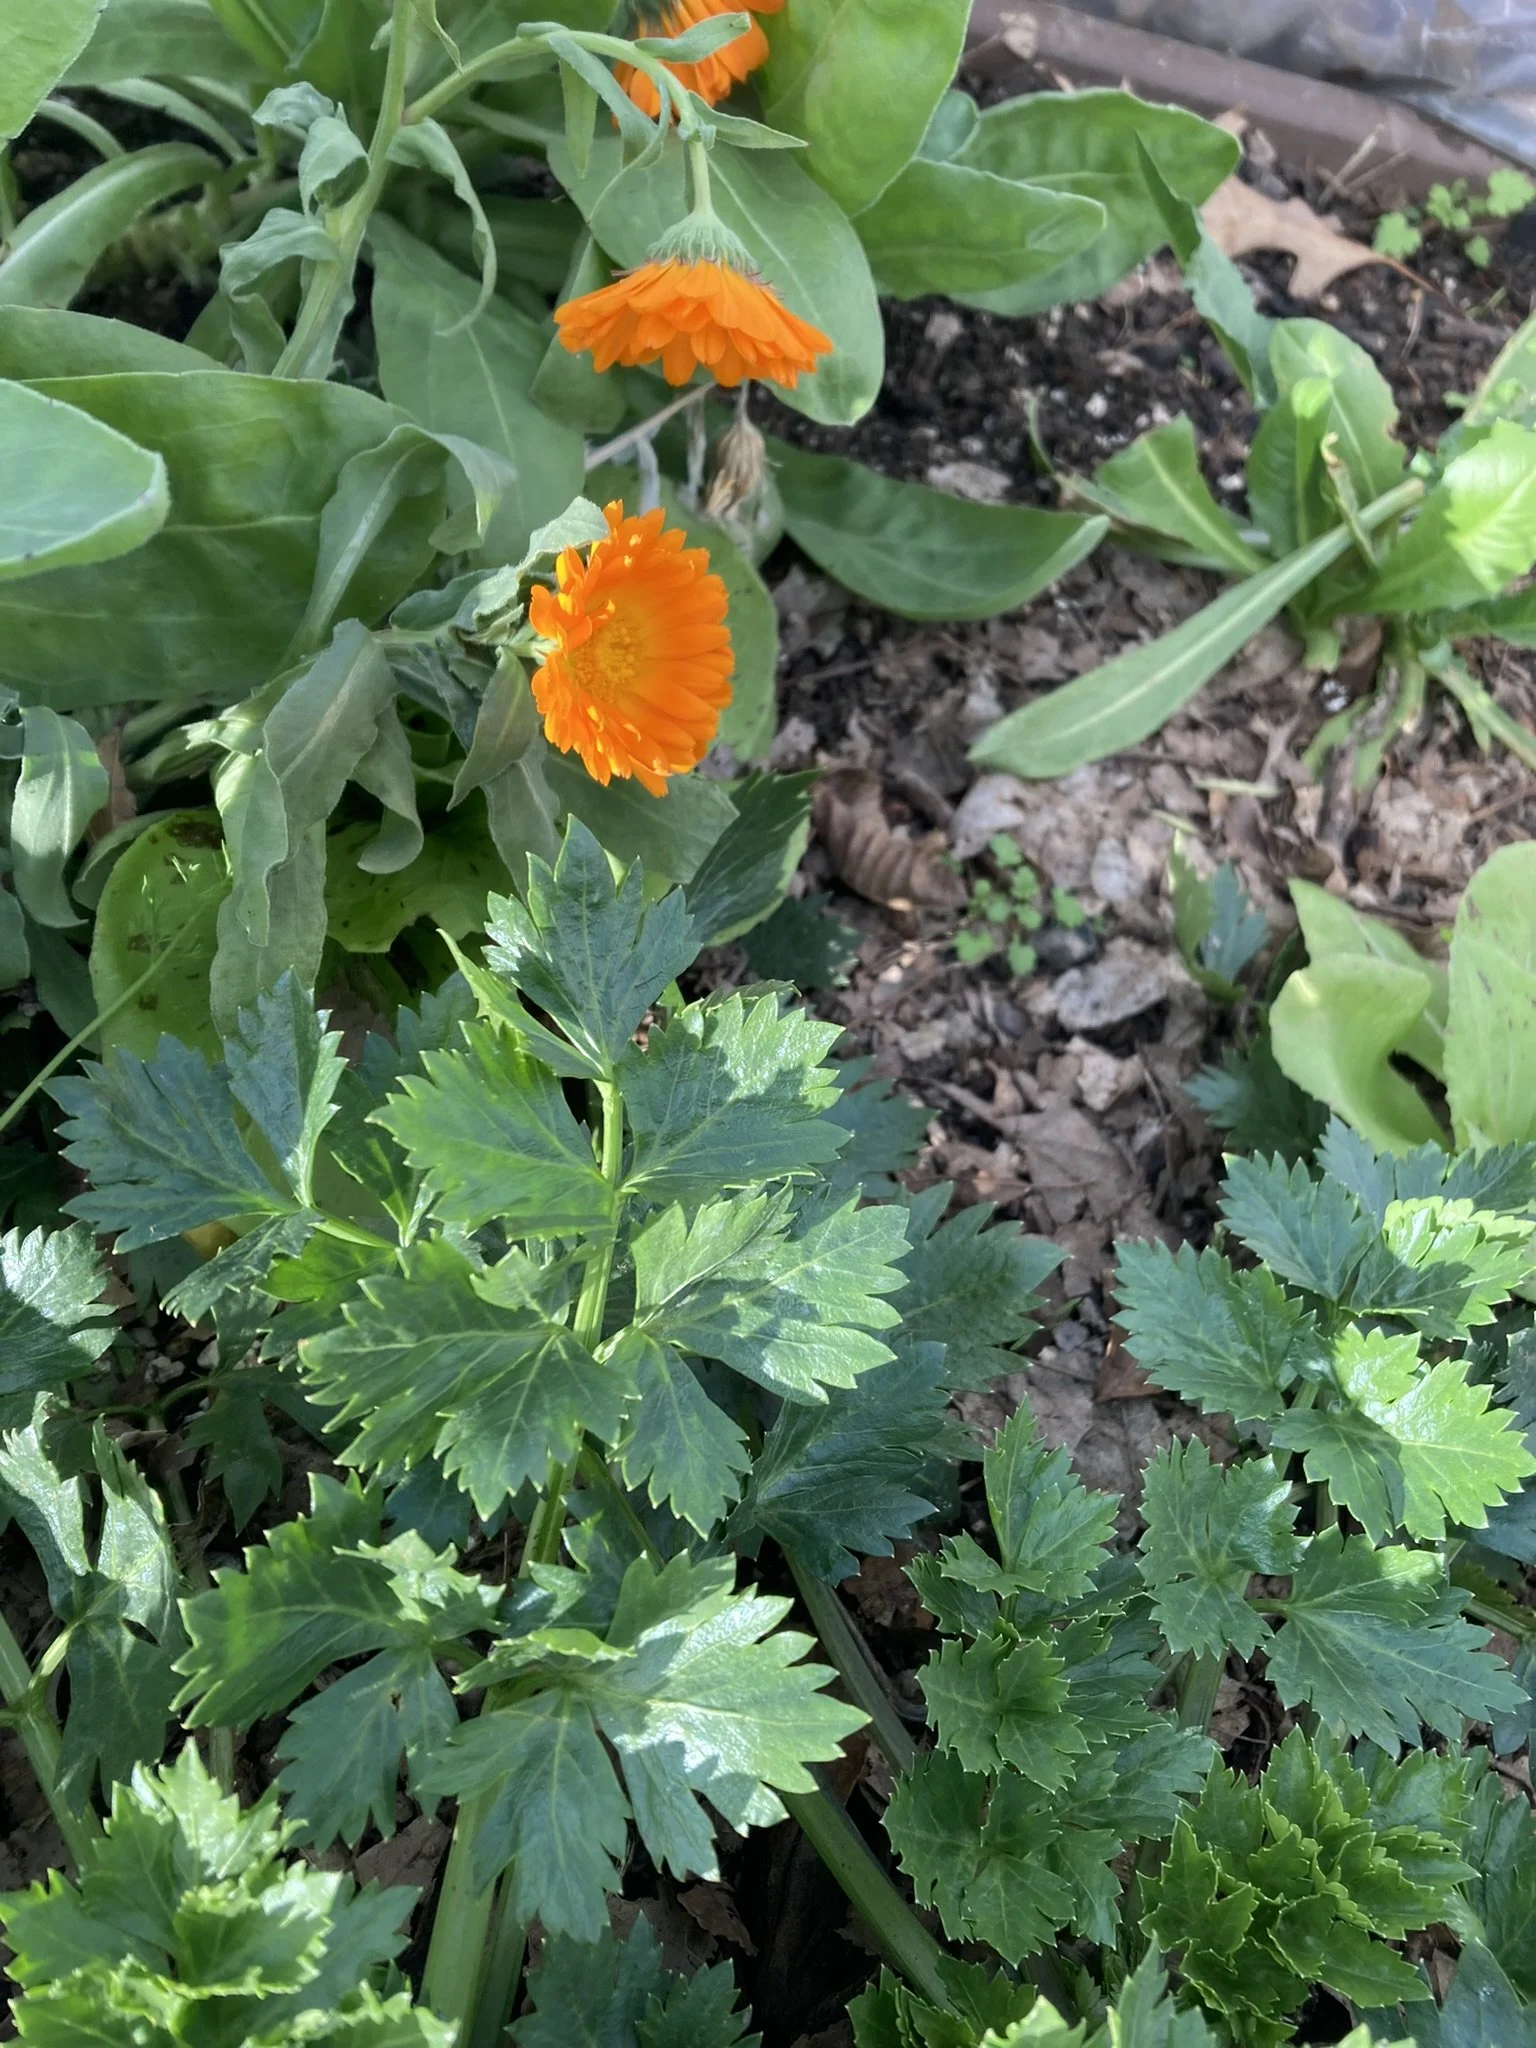
Calendula blooming in a mini-greenhouse in winter at The Imagined Garden, January 13, 2024
Then, we’re also going to improve the beneficial microbes in the soil. If we had compost ready, those beneficial microbes would be in the compost. I’ve also used earthworm castings before. Today, we’re using Chick N Poo. Not to worry, it’s composted, so it’s not going to smell up the neighborhood. Whether we’re talking compost or earthworm castings, which is earthworm poo, or chicken poo, they’re all getting decomposing things back into the soil. We acknowledge that our garden is part of the cycle of life. Decomposing stuff goes in to help feed the new life coming out. Instead of spiking things with synthetic fertilizers, we’re feeding the life in the soil. And, that relationship is what is going to feed our plants.
I lightly work both of those fertilizing materials into the soil. No major tilling where I’m destroying the soil structure, but instead, acting more like nature. Birds and critters would be working things in. Earthworms would be working things in. I’m just speeding up the process a little bit.
The last step is to mulch with that potting soil find I was sharing with you. This would be the perfect place to use some freshly sifted compost. But, we’re using my clearance find for today. It’s going to add some volume back into the beds, as well as give us a nice level surface to plant on. Bringing the soil right up to the stems is perfectly fine for most of the plants we have in the vegetable garden. In fact, you’ll find that as we transplant things, we bury a lot of stems. It’s beneficial and makes stronger plants to do that. Exceptions would include things in the chicory family. We need things pulled away from their stems so they’re not prone to rot.
So, there we have it, we’ve got our beds fresh and ready to plant again! Not just for now, but for all through the winter. A lot of the plants I’ve chosen to keep in the ground as well as the ones I’m starting right now will stick around through the winter. So, if you haven’t watched the greenhouse video, yet, make sure you do that next, so you have a chance to grow year-round, too.
Some of the things we’ll be growing include the Swiss Chard that’s already starting to perk up after the summer. Baby carrots and China Jade radishes are already coming through on earlier prepped beds.
And, most of the growing fun right now has been happening inside the house. We’ve got lots of seedlings that will be ready to go out soon. I’ll be sharing more about that with you in the next post.
So, ideally all of the compost and inputs that go into my garden would be coming from my garden. Not the case. But, for a fairly low input, this has been a decent solution. Not perfect, but a lot of positives.